Are you feeling drained and overwhelmed by the demands of everyday life? If so, Restorative Yoga could be just what you need to unwind and restore balance to your mind, body, and soul.
Content Outline
Overview
| Aspect | Description |
|---|---|
| Definition | Restorative Yoga is a gentle, therapeutic style of yoga that uses props such as bolsters, blankets, and blocks to fully support the body in various poses. This enables deep relaxation and promotes healing by allowing the body and mind to completely unwind. |
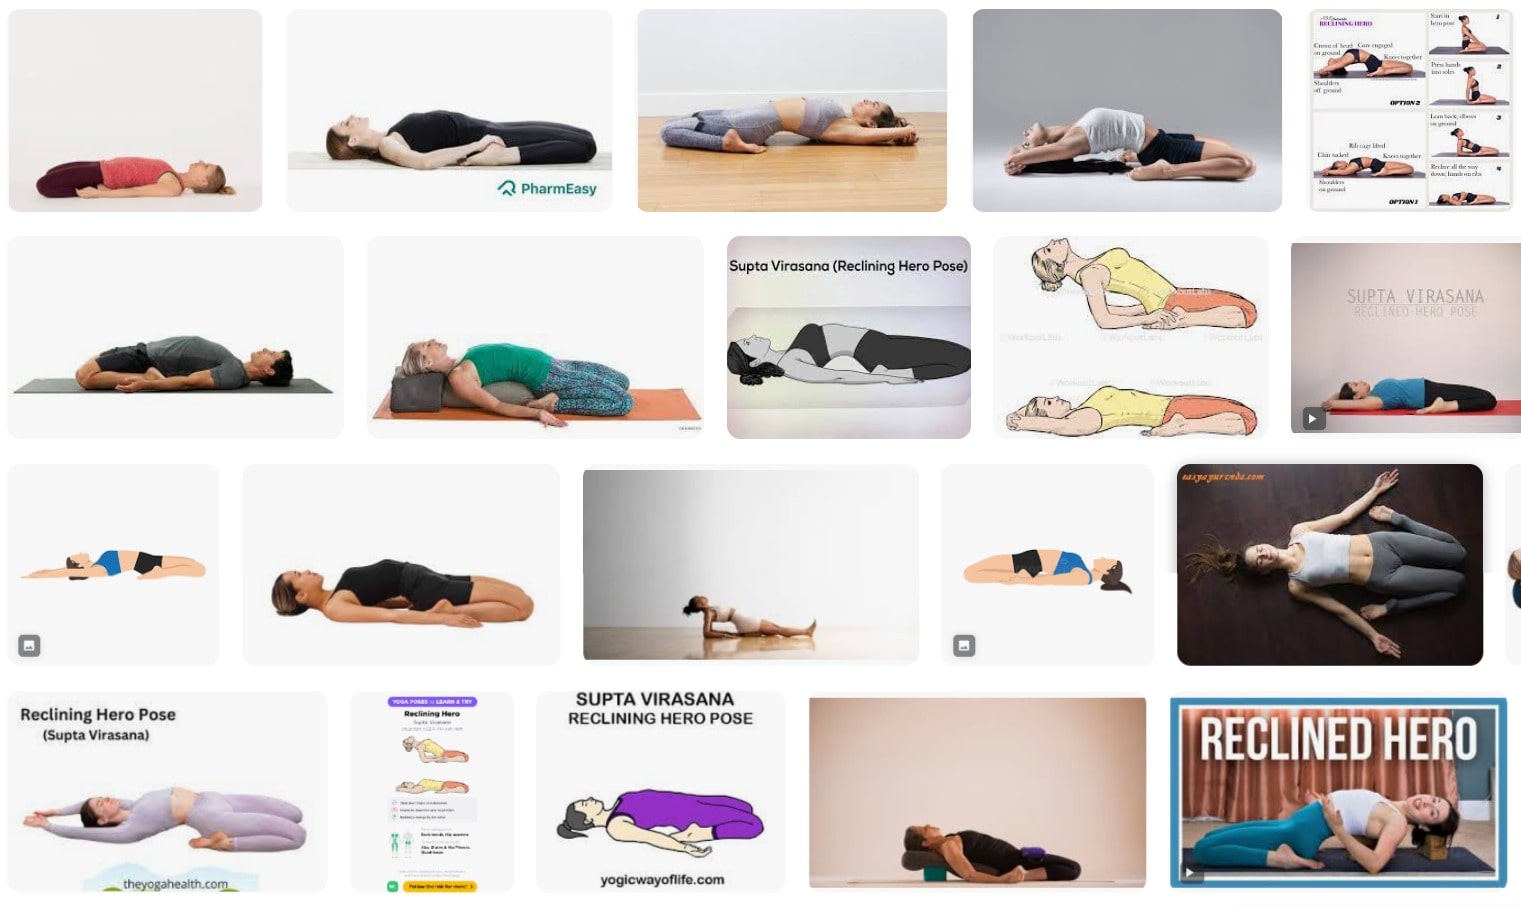
| Poses | Supported Child’s Pose (Balasana) Supported Bridge Pose (Setu Bandha Sarvangasana) Legs-Up-The-Wall Pose (Viparita Karani) Reclining Bound Angle Pose (Supta Baddha Konasana) Supported Corpse Pose (Salamba Savasana) |
| Benefits | Relieves stress and anxiety Improves flexibility and joint mobility Encourages deep relaxation and mental clarity Enhances the body’s natural healing processes Improves sleep quality |
Restorative Yoga is a gentle and calming practice that promotes healing and harmony by releasing tension from the body and mind. This article will explore the many benefits of Restorative Yoga, including its ability to alleviate stress and anxiety, enhance overall well-being, and foster emotional and physical healing.

We’ll also provide practical tips and techniques to help you practice Restorative Yoga in the comfort of your own home. By trying out these methods, you’ll be able to experience the transformative effects of Restorative Yoga firsthand and start feeling more relaxed, focused, and centered.
What is Restorative Yoga?
Restorative Yoga is a serene and soothing yoga practice that concentrates on relaxation and revitalization. Unlike other dynamic forms of yoga, such as Power Yoga or Vinyasa, Restorative Yoga involves holding gentle postures for longer durations, often with the help of supportive props such as blankets, bolsters, and blocks. The main aim of Restorative Yoga is to enable complete relaxation and alleviate tension in the body, while also promoting a peaceful state of mind and reducing feelings of stress and anxiety.
The Benefits of Restorative Yoga
Restorative Yoga offers a wide range of benefits for both the body and mind. Here are just a few of the many ways that Restorative Yoga can help improve your overall well-being:
- Promotes physical healing: Restorative Yoga can help alleviate pain and tension in the body, increase flexibility, and encourage better circulation and lymphatic drainage.
- Reduces stress and anxiety: Restorative Yoga has a calming effect on the nervous system, leading to a reduction in stress hormones and an increase in feelings of relaxation and overall wellness.
- Improves sleep quality: Restorative Yoga can help improve the quality of your sleep, leading to increased feelings of rejuvenation and vitality.
- Enhances emotional well-being: Restorative Yoga can foster self-care and self-compassion, decreasing feelings of anxiety and depression and promoting emotional balance and stability.
How to Practice Restorative Yoga at Home
Although Restorative Yoga is typically practiced in a class under the guidance of a certified instructor, it’s entirely feasible to establish a Restorative Yoga routine at home. Here are some suggestions and strategies for developing a Restorative Yoga practice in the cozy setting of your own home:
- Create a comfortable space: Choose a quiet and comfortable space where you can practice without distraction. Use blankets, pillows, and other props to create a cozy and supportive environment.
- Choose your poses: There are many Restorative Yoga poses to choose from, including Child’s Pose, Legs-Up-the-Wall Pose, and Reclining Bound Angle Pose. Choose poses that feel good in your body and allow you to fully relax and release tension.
- Use props: Props are essential to a Restorative Yoga practice, as they help to support the body in each pose and allow you to fully relax. Use blankets, bolsters, blocks, and straps to create a comfortable and supportive environment for your practice.
- Set your intention: Before beginning your practice, take a moment to set your intention for the session. This can be a simple phrase or mantra that helps you to focus your mind.
- Practice deep breathing: In Restorative Yoga, deep breathing is key to promoting relaxation and reducing stress. Try practicing slow, deep breaths in each pose, focusing on filling the belly and chest with air.
- Hold poses for an extended period of time: Unlike more dynamic forms of yoga, Restorative Yoga poses are meant to be held for an extended period of time, usually 5-10 minutes. This allows the body to fully relax and release tension, while also promoting circulation and lymphatic drainage.
- Use guided meditations: Guided meditations can be a great addition to a Restorative Yoga practice, helping to calm the mind and reduce stress and anxiety. Look for guided meditations online or through a meditation app.
- Practice regularly: Consistency is key when it comes to Restorative Yoga. Try to practice at least once a week, or more if possible, to experience the full benefits of this healing practice.
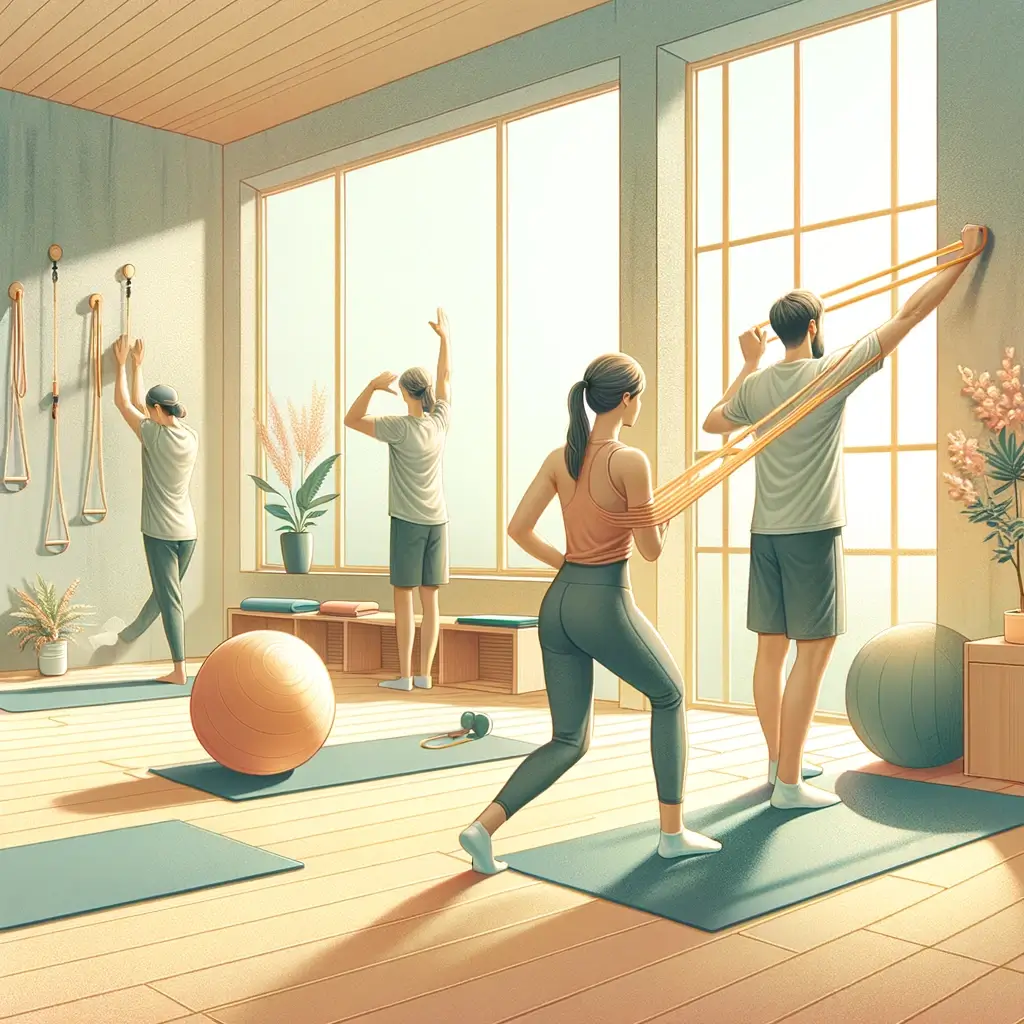
Restorative Yoga With Props
Restorative Yoga utilizes a range of props to help you maintain poses for extended periods, offering deep relaxation and relief from bodily tension. Commonly, seated or supine yoga postures are modified with the aid of blocks, bolsters, and blankets to prevent strain.
For example, a seated forward bend like (paschimottanasana) can be transformed into a restorative posture by placing a bolster or multiple folded blankets on your legs, allowing your entire torso to rest comfortably on the props.
Another posture commonly used in Restorative Yoga is reclined goddess pose, or supta baddha konasana. By placing a bolster at the back of your pelvis to support your spine, and gently binding the soles of your feet together with a rolled-up blanket, you can easily adapt this posture into a restorative pose.
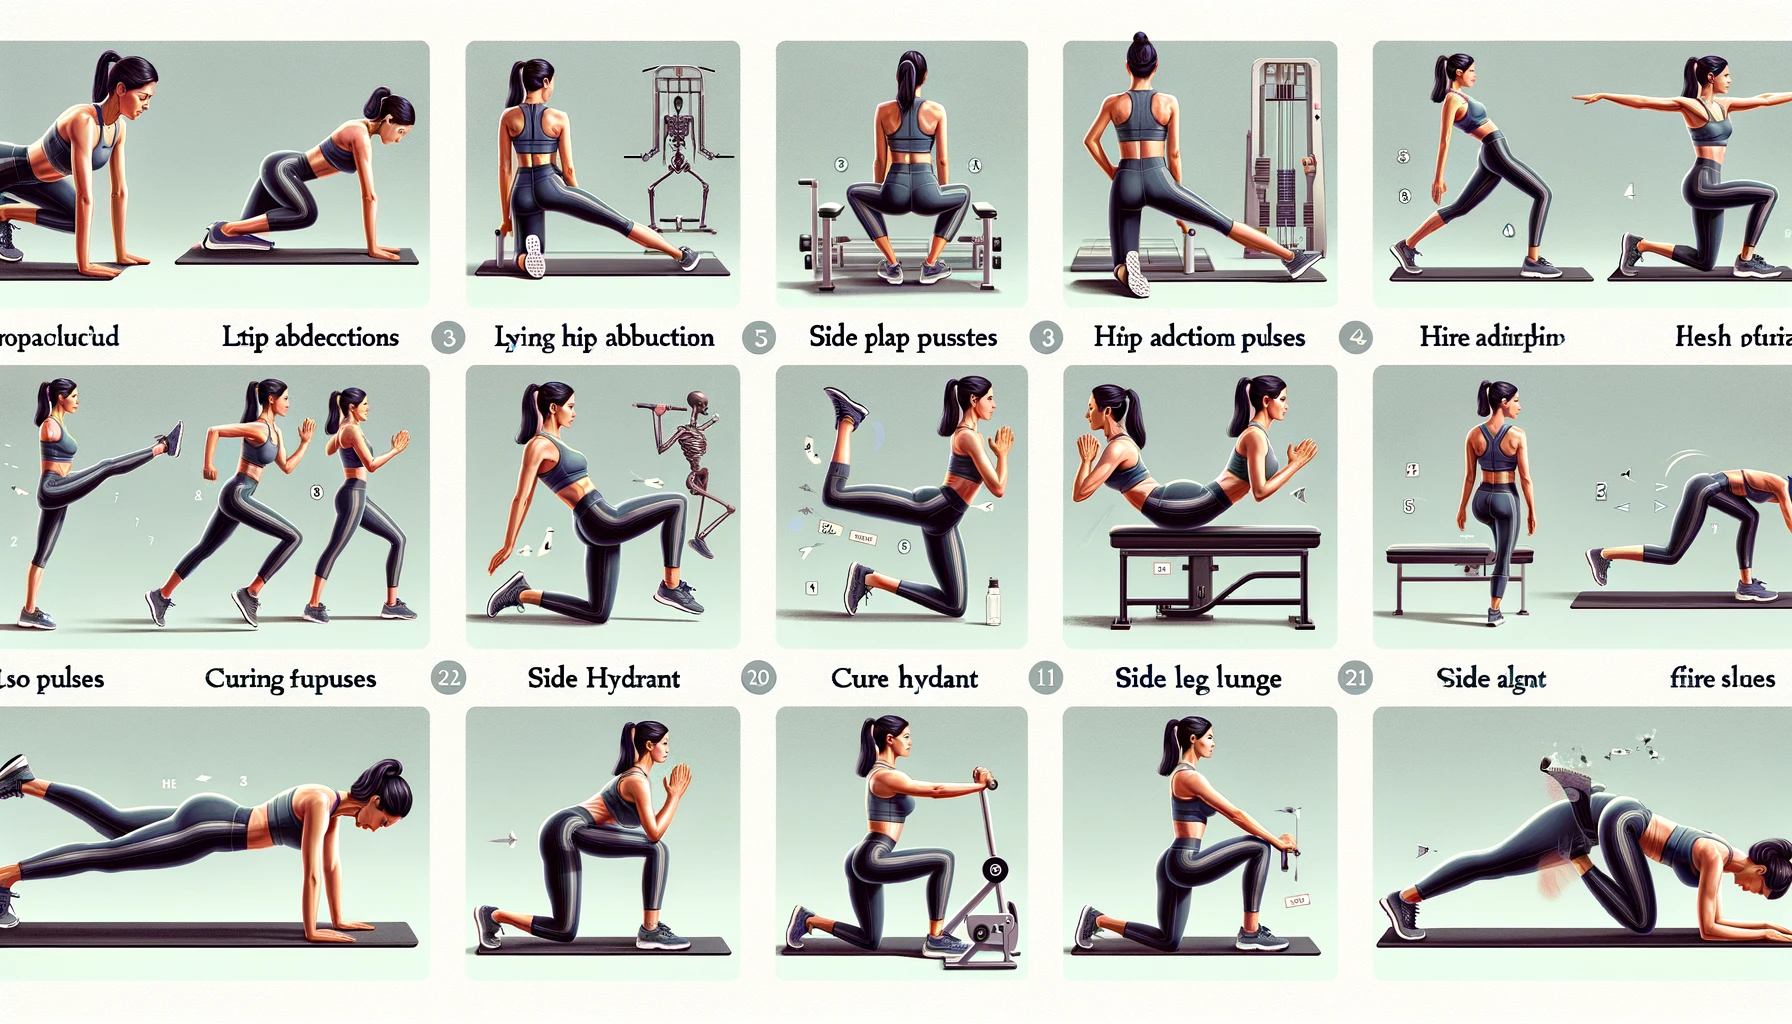
Top 10 Restorative Yoga Poses
Gentle stretching of the connective tissue through a restorative yoga sequence can be a delightful way to relieve tension and loosen the hips and pelvic area, making challenging poses more achievable.
For Restorative Yoga instructors, this sequence is an excellent way to introduce students to the practice. Want to discover the best restorative yoga poses for you? Check out our top picks to start your journey:
1. Child’s Pose (Bālāsana)
The Child’s Pose is a foundational and commonly practiced pose in yoga. To perform this pose, start by sitting on your heels with your knees spread apart, then lower your torso forward until your forehead is resting on the mat and your belly is nestled between your thighs. Extend your arms straight in front of you or let them rest alongside your body. There are many variations of the Child’s Pose, but my personal favorite involves placing a bolster between your legs before lowering onto it, which creates a comforting sensation similar to being in the womb.
Pro tip: To make the Child’s Pose even more comfortable, fold your yoga mat in half or place a folded blanket under your knees and feet.
2. Seated Cat Cow (Upavistha Bitilasana Marjaryasana)
")
The Cat and Cow pose is a foundational posture that can be found in most yoga classes. This gentle movement helps to mobilize the spinal vertebrae in multiple directions and is particularly beneficial for spinal health. Practicing the seated version of this pose can create a sense of spaciousness in the body and leave you feeling refreshed.
To perform the seated Cat and Cow pose, start by sitting cross-legged with your hands resting on your knees. Sit upright and grounded in your sitting bones. As you inhale, arch your back slightly, lean forward with your heart, and gaze upwards for a gentle backbend. On your exhale, round your back, extend your arms to hold onto your knees, and gaze towards your navel. Repeat this movement a few times while synchronizing your breath with the motion.
If sitting cross-legged is uncomfortable, you can sit with your knees bent and your feet six to eight inches away from your pelvis at a hip distance apart. The movement remains the same, inhaling to arch the back and exhaling to round it, regardless of the sitting position.
Supported Bridge Pose (Setu Bandha Sarvangasana)
")
To practice this restorative yoga pose, lie on your back with your knees bent and your feet placed near your hips. Place a yoga block beneath your sacrum on the lowest height level with its widest surface resting on the floor. You can rest your hands on your belly or extend your arms out like a cactus. Take deep breaths and hold this position for 3-5 minutes.
If you’re comfortable, you can try a variation by raising the block to a higher height, using its long and thin edge to support your sacrum. Hold this position for an additional 3-5 minutes while taking deep breaths.
To enhance the relaxation in this pose, you can separate your feet and allow your knees to fall inwards towards each other. This modification can be useful if you find it challenging to completely relax your legs with your knees pointing upwards. This restorative yoga pose can help to release tension and promote relaxation, making it an excellent addition to any yoga practice.
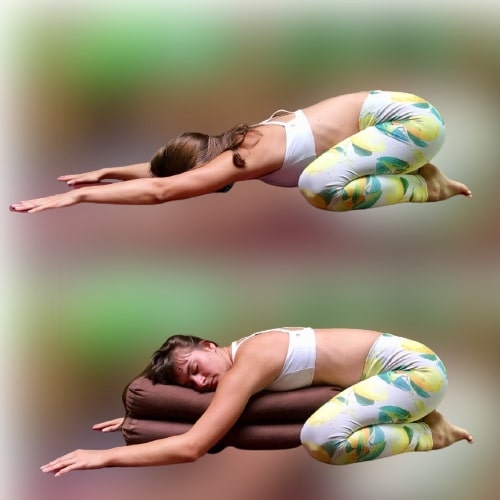
4. Reclining Bound Angle Pose (Supta Baddha Konasana)
")
To perform this pose, start by lying on your back and bringing your feet towards your pelvis, bending your knees in the process. Open your knees out to the sides and bring the soles of your feet together. To prevent too much tension in your inner thighs, you can place bolsters beneath both knees. You may choose to open your arms out to the sides or rest your hands on your belly. Take slow, steady breaths as you hold this position for a minimum of five minutes.
For a deeper stretch, you can wrap a strap around your waist and your feet. This modification can be helpful if you wish to challenge yourself in your practice and enhance the stretch.
5. Thread the Needle Pose (Parsva Balasana)
")
To perform the thread the needle pose, start on all fours with your wrists, elbows, and shoulders in a straight line and your knees beneath your hips. Keep your back straight and engage your core muscles. You can place a folded mat under your knees for extra support.
As you inhale, lift your right arm towards the ceiling, gently twisting your torso. Then, as you exhale, bend your right elbow and thread your arm under your left arm until your right shoulder and temple are resting on the mat. Take a few deep breaths in this position before repeating the movement on your other side.
If you want a deeper shoulder stretch, lift your left arm and move it towards your back until you can grasp your right inner thigh. Alternatively, you can leave your arm behind you if this feels too challenging.
6. Supported Forward Fold (Paschimottanasana)
")
To begin this pose, assume the staff pose by sitting on the edge of a bolster with a straight back and extending your legs out in front of you. Slightly bend your knees and place a bolster or rolled blanket underneath them. Place another bolster on your thighs and gently fold your upper body onto the bolsters. Hinge at your hips, ensuring your spine remains straight until your tummy is touching the bolster. Stay in this position for 5-10 minutes, taking deep breaths into your diaphragm.
If it feels more comfortable for you, you can use two or three bolsters on your thighs to fold onto. This modification can help you achieve a deeper stretch and relaxation in this pose.
7. Sleeping Pigeon Pose (Eka Pada Rajakapotasana)
")
To practice the sleeping pigeon pose, start on all fours. Lift your right leg and bring your shin to the front of the mat with your knee slightly to the right and your foot close to your pelvis. Straighten your back leg directly behind you. To help even out your hips, place a block under your right sitting bone. Then, place one or two bolsters on the inside of your right leg and gently fold forward onto them. Maintain equal-length inhales and exhales and hold the pose for at least 5 minutes before repeating on the other side.
For added comfort, you can place a folded blanket under the foot close to your pelvis if you experience any discomfort.
8. Supine Spinal Twist (Jathara Parivartanasana)
")
Lie down on your back and bring your right knee up towards your chest. Use your left hand to pull the right knee towards the left side of your body for a gentle twist. Place a bolster or two under the right knee for support. Keep both shoulders on the ground, extend your arms out to the sides, and take deep breaths. Repeat on the other side, holding the pose for the same amount of time.
Tip: To deepen the stretch, turn your gaze in the opposite direction of your bent knee.
9. Supported Fish Pose (Matsyasana)
")
To enhance your relaxation practice, take a bolster or a long pillow and place it horizontally behind your lower back, ensuring that the short edge is touching your lower back. Then, gently lay down on the bolster with your legs stretched out in front and your arms resting by your sides with palms facing upwards. Stay in this pose for as long as you desire while taking deep breaths to calm your mind and body.
Tip: You can use this pose instead of Shavasana at the end of your yoga practice for a unique and refreshing experience.
10. Legs Up The Wall (Viparita Karani)
")
To practice the ultimate restorative posture, start by sitting as close as possible to a wall. Then, lie down on your back and lift your legs up against the wall. Scoot your hips away from the wall until your legs are comfortably straight up the wall. Release all tension in your legs and body, and focus on taking deep breaths. Stay in this pose for 5-10 minutes.
Tip: You can experiment with different leg variations, such as tree pose legs, bound angle legs, or straddle splits, to find the most comfortable position for you.
Frequently Asked Questions about Restorative Yoga
Yes, Restorative Yoga is a great practice for beginners, as it’s gentle and nurturing. However, it’s always a good idea to check with your healthcare provider before starting any new exercise routine.
While props like blankets, bolsters, and blocks are helpful for a Restorative Yoga practice, you can also use household items like pillows and towels in a pinch.
Restorative Yoga poses are typically held for 5-10 minutes, although you can hold them for longer if you feel comfortable.
Yes, Restorative Yoga has been shown to be an effective tool for reducing symptoms of anxiety and depression, as it promotes relaxation and self-compassion.
Conclusion
In today’s fast-paced world, it’s more important than ever to take care of ourselves. Restorative Yoga offers a powerful tool for reducing stress and promoting relaxation, allowing us to restore balance to our bodies, minds, and souls. Whether you’re a beginner or an experienced yogi, Restorative Yoga can be a transformative practice that helps you to live a more peaceful and balanced life. So why not give it a try and see the difference it can make in your life?


Quality content is the main to interest the users to pay a quick
visit the web site, that’s what this website is providing.
Feel free to visit my blog post :: vpn special coupon
Thanks designed for sharing such a pleasant thinking, piece of writing is fastidious, thats why i have read it entirely
Also visit my blog … vpn special code
Excellent site you have here but I was curious if you knew of any forums that cover the same topics discussed in this article?
I’d really like to be a part of community where I can get advice from other knowledgeable individuals that share the
same interest. If you have any recommendations, please
let me know. Thanks!
my blog post; vpn special coupon code 2024
Wow, incredible blog structure! How long have you been blogging for?
you make blogging look easy. The total look of your site is wonderful, let alone the content material!
You can see similar here e-commerce
Thanks for sharing your thoughts about website.
Regards
Its like you read my mind! You appear to understand a lot about this, such as you wrote the book in it or something.
I believe that you simply could do with some p.c. to pressure
the message home a bit, however other than that, that is excellent blog.
A fantastic read. I will certainly be back.
Terrific article! That is the type of information that are supposed to be shared around the web.
Disgrace on the search engines for not positioning
this submit higher! Come on over and talk over with my site
. Thank you =)
Hi there, You’ve done an incredible job.
I’ll definitely digg it and personally recommend to my friends.
I am sure they’ll be benefited from this web site.
Aw, this was a very good post. Spending some time and actual effort to create a good article… but
what can I say… I procrastinate a whole lot
and never seem to get nearly anything done.
Hi would you mind sharing which blog platform you’re using?
I’m going to start my own blog soon but I’m having a hard time choosing between BlogEngine/Wordpress/B2evolution and Drupal.
The reason I ask is because your layout seems different then most blogs and I’m looking for something completely unique.
P.S My apologies for being off-topic but I had to ask!
Nice response in return of this issue with solid arguments and telling the whole thing
concerning that.
It’s remarkable in support of me to have a
website, which is beneficial for my knowledge. thanks admin
Für sie liegt das Problem vor allem in dieser Intransparenz: “Wir wissen nicht, warum Bukele die volatile Währung kauft. Gut 300 Millionen US-Dollar Steuergeld stecken also im Bitcoin-Experiment, rechnet Marroquin vor.
If you are going for best contents like I do, simply
go to see this site everyday for the reason that it presents quality
contents, thanks
Coming across your blog was a delight. Brimming with informative content and thought-provoking commentary, which is a rarity
these days. value the energy you’ve put into your
work.
Your article is refreshingly unique. You present a new perspective that has ignited
my interest. Looking forward to reading what you write
next.
I just couldn’t resist to leave a comment. Your articles speak with me on a personal level.
If you’re considering offering a newsletter, sign me up!
It would be a pleasure to have your insights delivered right to my inbox.
Your article resonated with me. It’s not every day you find a website that encourages you to think deeply.
Keen to see more of your work and encourage you to keep writing.
Your blog post was an eye-opener. With a sea of content online, it’s fantastic to read content that’s
as enriching and entertaining as yours. Please keep writing
This syntax provides a variety of options for creating a
positive and encouraging blog comment that compliments the author’s work
and expresses a desire to continue engaging with their content.
Occasionally, I stumble upon a blog that captures my attention because of its
thought-provoking articles. Yours is without a doubt one of those rare gems.
The way you interlace your words is not just enlightening but also remarkably entertaining.
I applaud the dedication you show towards your craft and eagerly look forward
to your future posts.
In the vast expanse of the online space, it’s a pleasure to come across a writer
who puts considerable effort into their work. Your posts don’t just offer valuable insights but also stimulate thoughtful conversations.
You’ve gained a faithful follower from this
point forward.
Your blog has quickly risen to the top of my list for me, and I find myself peruse
it frequently for updates. Each post is like a lesson in your niche,
conveyed with eloquence and charm. Could you offering a subscription service or a monthly newsletter?
I would be delighted to get more of your expertise straight to my
inbox
Your unique perspective to issues is truly refreshing, it’s deeply
needed in today’s online landscape. Your ability to dissect complex concepts
and offer them in an easily digestible way is an ability that should never be underestimated.
I eagerly await your upcoming posts and the discussions they’ll foster.
It’s rare to find a blog that acts as both a cognitive challenge and a soulful dialogue.
Your posts achieve that balance, offering a harmonious blend of knowledge and empathy.
The readership you’re nurturing here is proof to your effect and proficiency.
I’m eager to see where you’ll take us next and I’ll be following along closely.
Having dedicated numerous hours navigating the myriad
corridors of the internet today, I must say that your blog is like a lighthouse in a sea of
information. Never before have I come across such a collection of compelling content
that resonate on a substantial level. Your knack for elucidating complex
subjects with grace and acuity is worthy of admiration. I’m enthusiastically waiting for your subsequent
piece, believing it will deepen my understanding even further.
In today’s digital era, where content saturation is the norm, your blog shines as a pillar of originality.
It’s a privilege to find a platform of the web that commits to developing intellectual
growth. Your well-crafted posts ignite a yearning
for understanding that many of us long for. Kindly inform me if there’s
a way to sign up for direct notifications, as I would hate
to miss any insightful entry.
Your online presence is a testament to what engaged storytelling
should be. Each article you create is filled with valuable takeaways and meaningful stories that keep me thinking long after I’ve finished reading.
Your perspective is a refreshing voice to the often noisy online world.
In the event you create an exclusive subscription, count me among the first to join. Your content
is deserving of supporting.
I am coming back to your blog frequently, drawn by
the standard of discussion you provoke. It’s obvious that your blog is more than a medium for sharing ideas; it’s
a community for curious minds who desire substantive engagement.
Your commitment toOf course!
As soon as I began perusing your blog, I knew it was something extraordinary.
Your skill to delve into complex topics and clarify them for your audience is truly
noteworthy. Each post you publish is a wealth of knowledge, and I always
find myself eager to see what you’ll uncover next.
Your commitment to quality is evident, and I anticipate that you’ll
persist sharing such invaluable insights.
Your posts serves as a lighthouse in the sometimes turbulent
seas of online content. Your comprehensive explorations into diverse subjects are
not only informative but also extremely captivating. I
appreciate the way you balance thorough research with relatable examples, crafting posts that are equally informative and entertaining.
If there’s a method to subscribe your blog or become part of
a newsletter subscription, I would be delighted to be informed of your
latest musings.
As a content creator, I’m motivated by the enthusiasm you pour into each article.
You have a knack for making even the most obscure topics approachable and fascinating.
The way you dissect concepts and relate them to wider narratives is exceptionally skillful.
Kindly tell me if you have any online courses or digital resources in the works, as I would jump at
the chance to learn from your expertise.
It’s rare to come across a blog that hits the mark with both heart and mind.
Your articles are written with a degree of thoughtfulness that touches the core of the
human experience. Whenever I check your blog, I come
away with new knowledge and stimulated. I’m eager to know
whether you intend to
As soon as I began exploring your blog, I realized it was something special.
Your skill to delve into intricate topics and unravel them
for your readers is truly impressive. Each entry you release
is a wealth of insights, and I constantly find myself excited to
discover what you’ll explore next. Your commitment to excellence is
apparent, and I trust that you’ll keep on offering
such precious perspectives.
Hi there! Do you know if they make any plugins to
assist with Search Engine Optimization? I’m trying to get my blog
to rank for some targeted keywords but I’m
not seeing very good gains. If you know of any please share.
Thanks!
Magnificent beat ! I would like to apprentice while you
amend your site, how can i subscribe for a blog website?
The account aided me a acceptable deal. I had been a little
bit acquainted of this your broadcast offered bright clear concept
Quality posts is the important to interest the users to pay a quick visit the website,
that’s what this website is providing.
Once I ensured myself that every little thing looks excellent, I added the article to my GSA SER Tier 1 task.
Also visit my web page: https://medium.com/@traveltoday0082/unlocking-the-full-potential-of-gsa-search-engine-ranker-for-seo-mastery-69fb8e100768